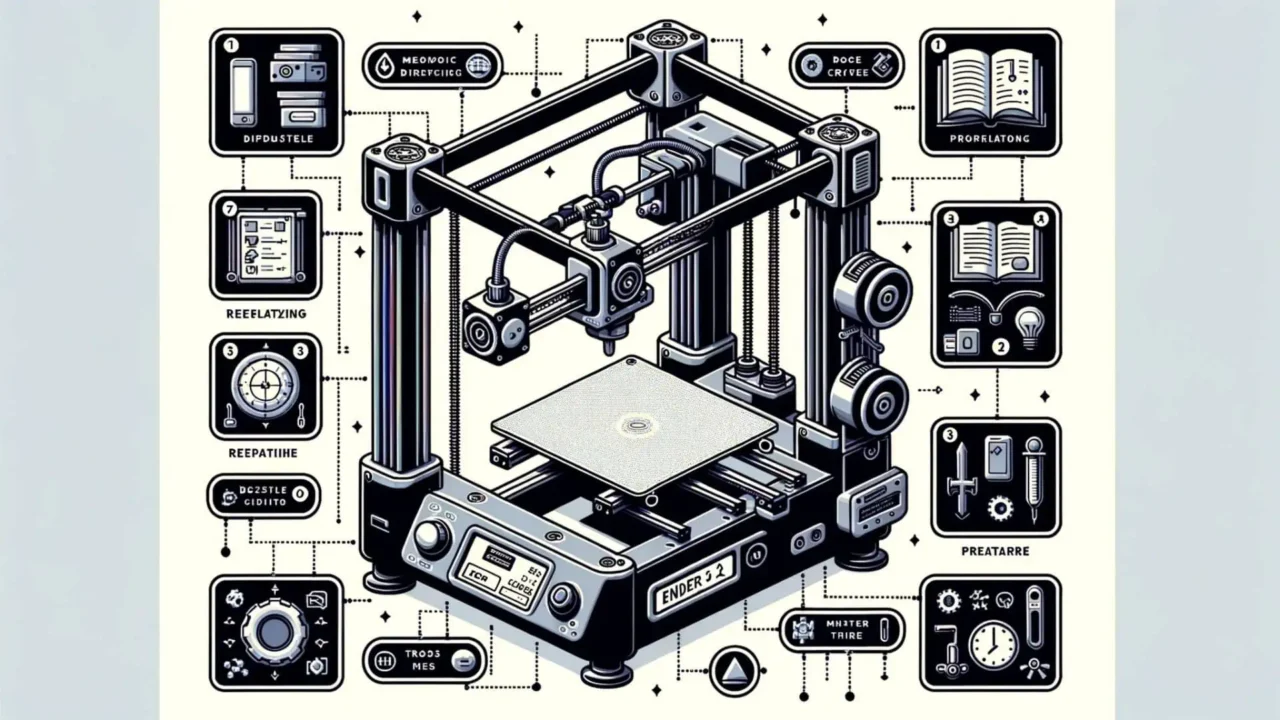
Creality Ender 3 V2 3D Printer Review: Specs, Bed Size, Nozzle Size, Firmware, Print Speed and Tips
If you are looking for a budget-friendly, easy-to-use, and high-quality 3D printer, you might want to check out the Creality Ender 3 V2 3D Printer. This is an upgraded version of the popular Ender 3, which has been praised by many 3D printing enthusiasts for its reliability and performance. In this article, we will review the features, benefits, and drawbacks of the Ender 3 V2, and compare it with some of its competitors.
We will also show you some of the amazing prints that this 3D printer can produce, and give you some tips and tricks to get the best results. By the end of this article, you will have a clear idea of whether the Ender 3 V2 is the right 3D printer for you.
Disclaimer: This post contains affiliate links, which means that if you click on any links and make a purchase, we’ll get a small commission, at no cost to you.
Consider reading: Best Laptops under $1000 for Gaming
Key Features and Specifications of the Creality Ender 3 V2 3D Printer
- Enhanced Build Volume: The Creality Ender 3 V2 boasts a generous build area of 220 x 220 x 250 mm, providing ample space for a wide range of printing projects.
- Rapid Printing Speed: Achieve impressive printing efficiency with speeds up to 180 mm/sec, enhancing productivity for both hobbyists and professionals.
- Versatile Material Support: This printer is compatible with various filaments including PLA, ABS, PETG, TPU, and more, offering flexibility for different printing needs.
- Precision Layer Resolution: With layer thickness options from 0.1 to 0.4 mm, it allows for fine-tuned detail in every print.
- Optimized Nozzle Design: The 0.4 mm nozzle diameter ensures precise extrusion, contributing to the printer’s overall print quality.
- Advanced Extruder Technology: The Bowden-style extruder in the Ender 3 V2 ensures reliable filament feeding for consistent printing results.
- Temperature-Controlled Heated Bed: The heated bed reaches temperatures up to 100°C, essential for high-quality prints with various materials.
- Convenient Connectivity Options: Offering both microSD card and USB connectivity, the printer ensures easy and versatile file transfers.
- User-Friendly Interface: The 4.3-inch color LCD screen simplifies the control and monitoring of print jobs.
- Flexible Power Supply: Compatible with AC inputs of 115V or 230V and featuring a 24V DC output, it caters to diverse electrical setups.
Consider reading: Anycubic Mega X 3D Printer Review: Specs, Bed Size, Nozzle Size, Firmware, Print Speed and Tips
Unboxing and Assembly of Creality Ender 3 V2 3D Printer
The Creality Ender 3 V2 3D Printer comes in a well-packed box with foam inserts to protect the parts. The box contains the following items:
- A set of aluminum profiles and brackets for the frame
- A pre-assembled hotend and extruder assembly
- A pre-assembled X-axis gantry with belt and pulleys
- A pre-assembled power supply unit with fan
- A pre-assembled LCD screen with control knob
- A glass print bed with clips
- A spool holder with filament guide tube
- A tool drawer with wrenches, Allen keys, pliers, etc.
- A microSD card with test files and instructions
- A USB cable
- A power cord
- A scraper
- A nozzle cleaning needle
- Some spare parts and accessories
Assembly Steps Overview for Creality Ender 3 V2 3D Printer:
The assembly process is relatively easy and straightforward, as the printer comes partially assembled. The instructions on the microSD card are clear and detailed, with pictures and videos to guide you through each step. The assembly can be completed in about an hour or two, depending on your skill level.
- Secure the vertical profiles to the base with screws and T-nuts.
- Attach the X-axis gantry to the vertical profiles using screws and eccentric nuts.
- Install the Z-axis lead screw and motor on the right vertical profile.
- Mount the spool holder atop the right vertical profile.
- Fix the LCD screen to the front base.
- Attach the power supply unit to the base’s left side.
- Connect all wires as per the labeled diagrams.
- Level the print bed using paper and adjust the bed knobs.
- Insert the microSD card into the LCD screen slot.
- Power up the printer and follow on-screen instructions for initial testing.
Setting up your Creality Ender 3 V2 is a rewarding experience, thanks to its straightforward assembly process.
Creality Ender 3 V2 3D Printer: Design and Build Quality Insights
- Appearance: The Ender 3 V2 sports a sleek, modern look with a robust aluminum frame, predominantly in black and blue, and adorned with the Creality logo.
- Sturdiness: Its aluminum frame ensures stability and robustness, eliminating wobble during printing.
- Materials: The printer’s materials are apt for its price point, though some components, like the plastic extruder lever and PTFE tube, might benefit from future upgrades for enhanced durability.
- Customization Potential: Users often enhance their printers with additions like a metal extruder, BLTouch sensor for auto-leveling, or a filament runout sensor.
- Size and Portability: Measuring around 475 x 470 x 620 mm and weighing about 7.8 kg, the printer is compact and portable, fitting comfortably in most workspaces while allowing easy relocation and maintenance.
In summary, the Ender 3 V2 impresses with its sleek design and solid build, though some parts may warrant future upgrades. It’s an ideal, space-efficient choice for both amateur and professional 3D printing enthusiasts.
Creality Ender 3 V2 3D Printer Setup and Calibration Guide
- Initial Setup: The Creality Ender 3 V2 is designed for quick and efficient setup, with most calibration processes automated for convenience.
- Bed Leveling Steps:
- Preheat the nozzle and bed to your desired temperatures.
- Disable the motors via the menu.
- Manually position the nozzle at the bed’s center, sliding a paper sheet underneath.
- Adjust the Z-axis limit switch for a slight nozzle-to-paper contact.
- Level each bed corner, ensuring the paper is slightly gripped by the nozzle.
- Repeat these steps for thorough bed leveling.
- Software: The printer includes Creality Slicer and supports other compatible slicing software, with options for microSD card and USB cable connections.
- User-Friendly Features:
- Resume Printing: Restart prints post power outage or interruption.
- Filament Change: Seamlessly switch filament types or colors mid-print.
- Preheat: Rapidly warm the nozzle and bed.
- Move Axis: Manually adjust the nozzle or bed for maintenance or troubleshooting.
- Auto Home: Automatically reposition the nozzle and bed for start-up calibration.
In essence, the Creality Ender 3 V2 ensures a hassle-free setup and calibration experience, complemented by a suite of convenient features for an enjoyable 3D printing journey.
Creality Ender 3 V2 3D Printer Software and Firmware
- Creality Slicer: Included with the Ender 3 V2, this user-friendly slicing software is a modified version of the popular Cura software. It’s designed to offer a seamless experience in preparing 3D models for printing with customizable settings.
- Customization Capabilities: Users can adjust layer height, infill density, print speed, temperature, and more, making it ideal for tailoring prints to specific requirements. It also includes pre-set print profiles and the option to create custom configurations.
- Wide Compatibility: The software supports various file formats like STL, OBJ, or 3MF and is compatible with most 3D design software, including Tinkercad, Fusion 360, and SketchUp.
- Preview and Simulation: Offers a preview and simulation feature to ensure accuracy before printing.
- Alternatives for Advanced Users: While Creality Slicer caters to beginners and intermediate users, advanced users may opt for other slicing software like PrusaSlicer or Simplify3D for more sophisticated features, provided they support the Marlin firmware and G-code format used by the Ender 3 V2.
In summary, the Creality Ender 3 V2 includes the Creality Slicer software, suitable for various user levels, with options available for more advanced users seeking additional features.
Creality Ender 3 V2 3D Printer Printing Performance
- Materials Compatibility: Handles a range of filament types, including PLA, ABS, PETG, and TPU, with a filament diameter of 1.75 mm and a maximum melting temperature of 250°C.
- Printing Speed: Optimized for speeds up to 180 mm/s, but best results often achieved at 50-80 mm/s.
- Layer Resolution: Offers resolutions between 0.1 mm to 0.4 mm, catering to different detail requirements.
- Bowden Extruder: Features a Bowden extruder system for faster and smoother movement, albeit with potential for increased retraction issues and clogs.
Creality Ender 3 V2 3D Printer Common Challenges
- Layer Adhesion: Generally strong, especially with PLA, but may require adjustments for other materials.
- Warping: Addressed with the heated bed, though additional strategies like using a brim or raft may be needed.
- Stringing: Can be mitigated through retraction settings, temperature adjustments, and software features.
In short, the Creality Ender 3 V2 offers versatile printing capabilities and resolutions, with common challenges that can typically be overcome with adjustments and enhancements.
Creality Ender 3 V2 3D Printer Print Quality and Safety Features
- Fine Detail Printing: Capable of producing high-quality prints with impressive layer resolution.
- Handling Complex Shapes: Efficiently manages intricate shapes and overhangs with support structures and cooling fans.
- Benchmark Prints: Performs well on standard test models like Benchy and calibration cubes, demonstrating high accuracy and detail.
Creality Ender 3 V2 3D Printer Noise and Heat Management
- Quiet Operation: Runs relatively quietly at around 50 dB, comparable to a regular conversation, though cooling fans may be noticeable.
- Effective Heat Management: Manages heat effectively with a heated bed and efficient cooling fans.
Creality Ender 3 V2 3D Printer Safety Considerations
- Power Resume Function: Includes a power resume feature for interrupted prints.
- Thermal Runaway Protection: Equipped with thermal runaway protection for safer operation.
- Open-Frame Design: While offering easy access and visibility, it requires caution due to exposed moving parts and hot components.
In conclusion, the Creality Ender 3 V2 3D Printer stands out for its quiet operation, effective heat management, and safety features, making it a versatile and reliable choice for various 3D printing needs.
Consider reading: Best Resin 3D Printers to Buy
Creality Ender 3 V2 3D Printer Customer Support Experience
- Service Quality: Creality is known for providing satisfactory customer service. In case of technical issues or warranty inquiries, they are reachable via email or phone, ensuring support for their users.
- Online Resources: The Creality website is a treasure trove of support materials, including user manuals, firmware updates, FAQs, and more, all aimed at enhancing the user experience from setup to troubleshooting.
- Community Engagement:
- Active Online Community: The Creality user base boasts a large and dynamic online community. This community is a hub for sharing practical advice, reviews, and modifications, enriching the 3D printing experience.
- Platforms for Interaction: This vibrant community spans across Facebook groups, Reddit forums, and YouTube channels, offering diverse platforms for user interaction.
- Additional Online Forums: Beyond Creality’s official community, numerous online forums and communities exist, providing additional resources for advice, experience sharing, and problem-solving in the world of 3D printing.
In essence, Creality supports its Ender 3 V2 3D Printer users with effective customer service and fosters a rich online community for knowledge exchange and support.
Creality Ender 3 V2 3D Printer: Price and Value Analysis
- Affordability: Priced at around $300, the Creality Ender 3 V2 3D Printer is slightly more expensive than its predecessor but remains an affordable option in the 3D printer market.
- Value Proposition: Offering excellent value for money, this printer is ideal for beginners and intermediate users. It’s recognized for its reliability, versatility, and commendable print quality within its price range.
- Market Comparison: When compared to other models like the Anycubic Vyper, Monoprice Voxel, or Prusa Mini, each with its unique pros and cons, the Ender 3 V2 holds its own as a cost-effective and capable machine.
To summarize, the Creality Ender 3 V2 3D Printer stands out as a competitively priced 3D printer offering significant value, especially suitable for those seeking an affordable yet efficient 3D printing solution. Nonetheless, it’s crucial to consider individual requirements and compare it with other models to make an informed decision.
Disclaimer: This post contains affiliate links, which means that if you click on any links and make a purchase, we’ll get a small commission, at no cost to you.
Pros and Cons of Ender 3 V2 3D Printer
To summarize, here are the main advantages and disadvantages of the Creality Ender 3 V2 3D Printer:
Ender 3 V2 3D Printer Pros:
- Inexpensive
- Slightly above-average print quality
- Good-size build area for its price
- Supports several filament types
- Easy to assemble and use
- Silent operation
- Power resume function
- Thermal runaway protection
- Large and active online community
Ender 3 V2 3D Printer Cons:
- Manual print-bed leveling can be tricky
- Setup instructions could be better
- Questionable quality control on some parts
- Some parts may need upgrading or replacing
- Open-frame design poses some safety risks
Maximizing Your Creality Ender 3 V2 3D Printing Experience: Essential Tips and Upgrades
Enhance your Creality Ender 3 V2 3D Printer’s performance and user experience with these expert tips and tricks:
- Upgrade to a Metal Extruder: Switch the standard plastic extruder lever for a more robust metal one. This upgrade significantly boosts the printer’s filament feeding reliability and minimizes the risk of breakages, ensuring smoother printing processes.
- Automate Bed Leveling with BLTouch: Simplify the manual bed leveling process by installing a BLTouch sensor. This device automates bed leveling, leading to enhanced print accuracy and consistency. It’s particularly beneficial for countering bed warping or shifting issues.
- Install a Filament Runout Sensor: Address the absence of a filament runout sensor in the Ender 3 V2 by adding an aftermarket one. This sensor detects filament shortages, pausing your print and notifying you to reload or replace the filament, thereby preventing incomplete prints.
- Integrate a Raspberry Pi with OctoPrint: Elevate your printer’s functionality by adding a Raspberry Pi equipped with OctoPrint software. This combination offers remote control and monitoring of your printer via a web interface, adding a layer of convenience and advanced management.
- Select High-Quality Filament: The choice of filament plays a crucial role in your print’s outcome. Opt for premium filaments that offer consistent diameter and composition quality. Store your filament correctly in a moisture-free environment to maintain its integrity.
Implementing these tips and modifications can significantly improve your Creality Ender 3 V2 3D Printer’s efficiency and ease of use, leading to a more satisfying and productive 3D printing experience.
Final Thoughts on Creality Ender 3 V2 3D Printer
The Creality Ender 3 V2 3D Printer is a great 3D printer for anyone who wants to get into 3D printing or upgrade from an older model. It offers a good balance between price, features, and performance and can produce high-quality prints with various materials. It is easy to assemble and use, and has some useful features and safety measures. It also has a large and supportive online community that can help you with any issues or questions.
However, the Creality Ender 3 V2 is not perfect, and it has some drawbacks that you should be aware of. It requires manual print-bed leveling, which can be frustrating and time-consuming. It also has some quality control issues on some parts, which may affect its reliability and durability. It also has an open-frame design, which exposes the hot and moving parts to the user and the environment, which can pose some safety risks.
Overall, we recommend the Creality Ender 3 V2 3D Printer for anyone who is looking for a budget-friendly, reliable, and versatile 3D printer that can handle most of their printing needs. It is suitable for beginners who want to learn the basics of 3D printing, as well as intermediate users who want to experiment with different materials and settings. It is also a good platform for modding and upgrading, as there are many compatible parts and accessories available.
FAQs on Creality Ender 3 V2 3D Printer
Is Creality Ender 3 V2 3D Printer worth it?
Absolutely, the Creality Ender 3 V2 3D Printer offers excellent value for its price point. It boasts superior print quality, user-friendly operation, and the potential for extensive upgrades, making it an ideal option for both beginners and experienced users seeking a budget-friendly 3D printer.
Why is the Ender 3 V2 so loud?
The Creality Ender 3 V2 is often loud due to its stock mainboard with integrated motor drivers, which produce a high-pitched noise. To reduce this noise, one would need to upgrade to a silent mainboard with TMC2130 drivers or other quieter stepper motor drivers.
Is the Ender 3 V2 better than the Ender 3 Pro?
The Ender 3 V2 offers enhancements over the Ender 3 Pro, including a glass bed and an improved user interface. These upgrades contribute to a modest increase in print quality. While both printers produce similar results overall, the V2 edges out with its additional features, catering to 3D printing enthusiasts seeking extra refinement.
What are the most common problems with the Ender 3 V2?
The Ender 3 V2 most frequently encounters issues like under-extrusion, where the printer fails to supply sufficient filament, and missing layers, which cause gaps in print. Ensuring proper bed adhesion is crucial for print quality, as is checking axis alignment to avoid irregularities. Additionally, users should verify slicer settings as pre-loaded configurations may not always perform optimally.


